Vess A3340d - Collecting Service Logs
Service logs help diagnose issues by analyzing events, physical drive status, component details, firmware versions, and other system aspects. The Vess A3340d supports two methods for collecting these logs:
Method 1: Collect Service Logs via WebPAM PROe
-
Access WebPAM PROe:
- Open the WebPAM PROe desktop shortcut or use a browser.
- Enter: https://localhost:8443/ (Replace localhost with the configured IP address if accessing remotely)

-
Login:
- Enter the credentials:
- Username:
administrator - Password:
password(default)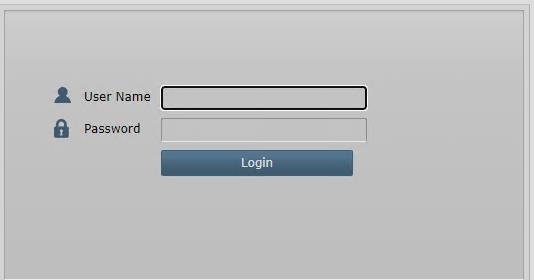
- Username:
- Enter the credentials:
-
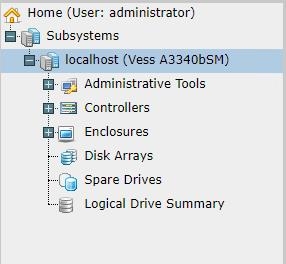
Navigate to Local Host:
Select Local Host from the left panel
-
Generate Report:
On the right side, click the Save button.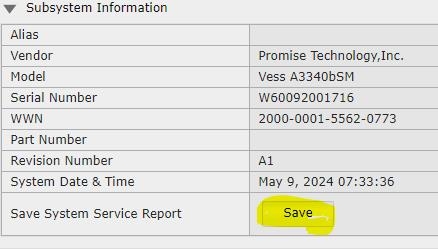
-
Download OPAS Logs:
The service report will generate, and OPAS logs will be downloaded.

-
Attach Logs to Support Case:
- Save the report and attach the logs when submitting a support case.
- Refer to the KB article for steps on creating and submitting a case.
Method 2: Collect Logs via USB (OPAS)
This method does not require GUI access and can be used if network access is unavailable.
Steps:
-
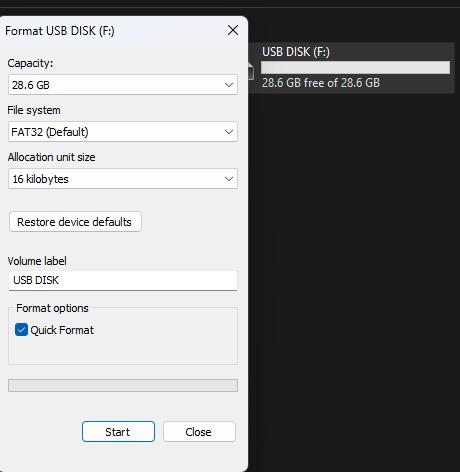
Prepare USB Drive:
- Format an empty USB drive as FAT32.
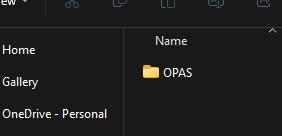
- Create a folder on the USB named: OPAS.
-
Insert USB into Vess A3340d:
- Eject the USB from the PC and insert it into the front USB port of the 3340d.
-
Wait for Beep Signals:
- A repeated beep will sound, indicating the logs are being collected.
- Wait until a long beep is heard and the USB LED stops flashing.
-
Remove USB Drive:
- Safely eject the USB from the Vess A3340d.
-
Retrieve Logs:
- Open the USB drive on your PC.
- Locate the OPAS output folder within the OPAS directory created earlier.
Important Notes:
- Always format the USB to FAT32 for compatibility.
- Use the long beep signal and LED stop as confirmation that the process has completed successfully.
- Attach the logs collected to your support case when contacting Promise Technology Support for further assistance.
For additional help, visit Promise Technology Support.

