
Using the Pegasus1 or Pegasus2 firmware with a modern macOS
To use a Pegasus1 or Pegasus2 on a modern MAC (including the M1 MACs), a driver for that macOS version must be used. The Pegasus32 drivers are backwards compatible and should be used. For M1 MACs, the user space driver is recommended.
For Intel MACs, macOS has a Pegasus driver installed and this should be used.
After installation, ensure to 'allow' the driver in System Settings on your Mac. For assistance, please refer to the Guide.
Managing a Pegasus1 or Pegasus2 with a modern macOS
To manage a Pegasus1 or Pegasus 2 on a modern MAC, the Promise utility from the Pegasus32 downloads should be used. The Promise utility in the Pegasus1 or Pegasus2 downloads page was compiled for a macOS 8 to 10 years old and won't work correctly in Big Sur and above due to changes in macOS.
But the latest Promise Utility won't update the firmware in a Pegasus1 or Pegasus2, so a slightly older version needs to be used. Promise Utility v4.06.0000.01 will update the firmware in the Pegasus1 and Pegasus2.
Updating firmware in a Pegasus1 or Pegasus2
If older Pegasus1 or Pegasus2 firmware is loaded, there may be issues like random disconnects and failure of the volume to mount after a reboot. The latest Pegasus1 or Pegasus2 firmware should be used.
For the Pegasus1 the latest firmware from the Pegasus1 downloads page is v5.04.0000.61.
For the Pegasus2 the latest firmware from the Pegasus2 downloads page is v5.04.0000.64.
To update the firmware using the latest Promise Utility:
1. From the Admin drop-down menu in the menu bar of the Promise Utility, choose Firmware Update.
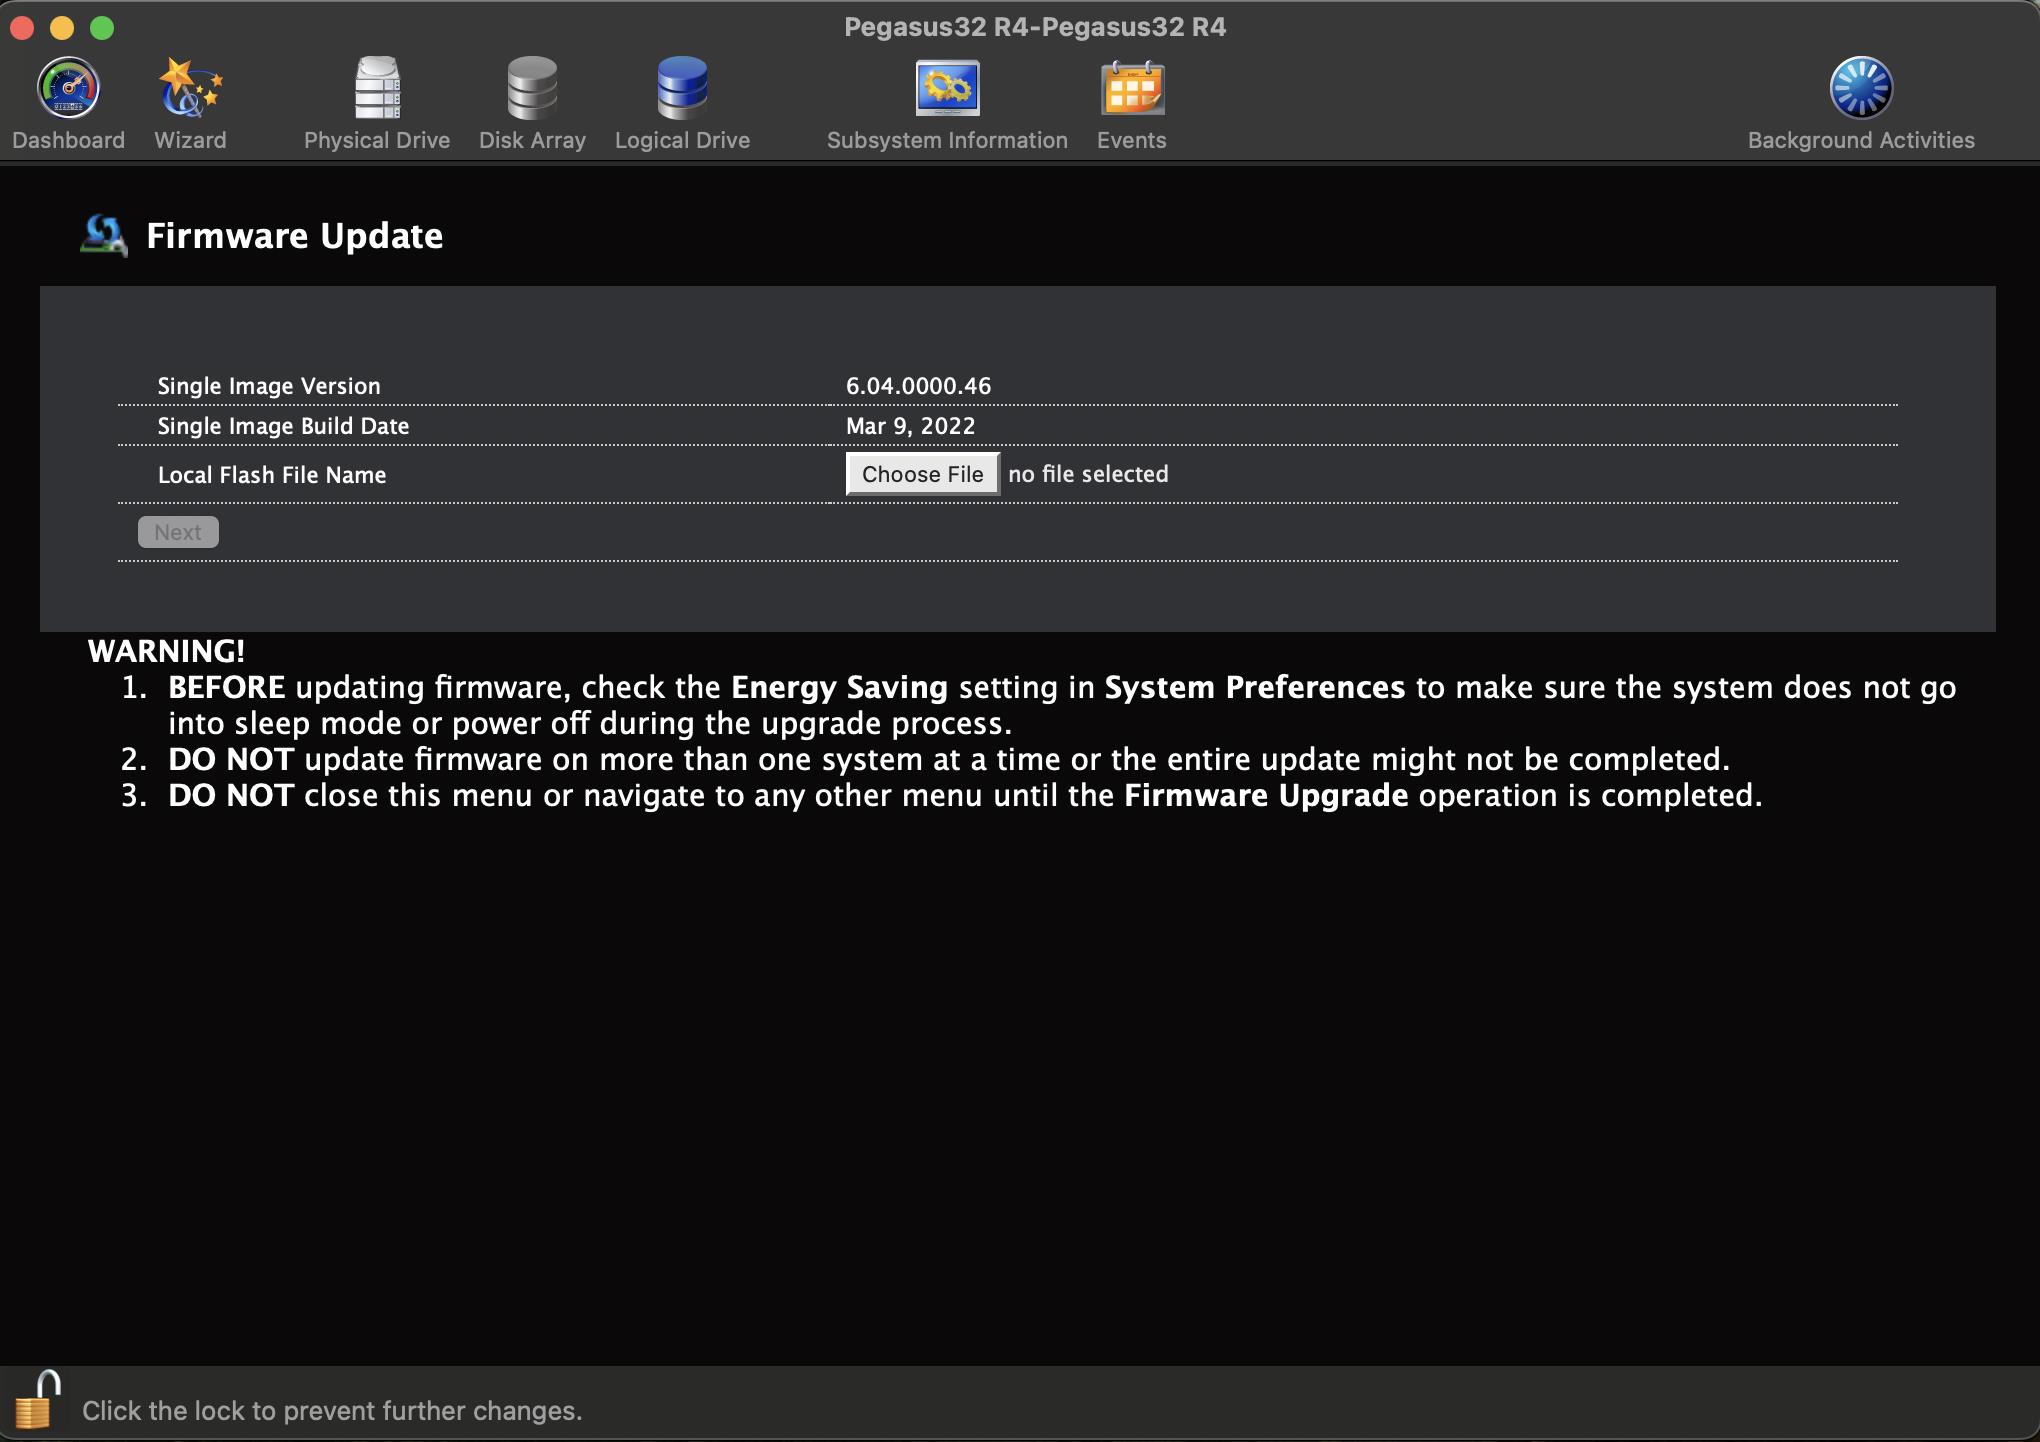
 2. Click on the padlock icon to unlock the menu, and type in the password for your computer when the prompt appears.
3. Click the Choose File button and locate the .img file you downloaded.
4. Click the Submit button.
5. In the Confirmation box, type the word “confirm” in the field provided and click the Confirm button.
6. The process will take several seconds to complete. Once the process has completed, it is necessary to restart the computer.Once the computer is powered on and booted up, you may continue to use the Pegasus1 or Pegasus2.


For unknown reasons the firmware update won't work from the Promise Utility, the CLI should be used. If the Promise Utility is used it will fail saying the controller has failed, which is incorrect. So the CLI must be used.
This is the process for the Pegasus1 or Pegasus2, start the CLI by opening a terminal and typing 'promiseutil', then at the cliib prompt start the process by typing
ptiflash -f
Then drag and drop the firmware file from finder to the terminal and it will paste the file with full path into the terminal, and press enter.
promise@promises-Mac-mini ~ % promiseutil-------------------------------------------------------------Promise UtilityVersion: 4.06.0000.01 Build Date: Aug 4, 2021-------------------------------------------------------------List available RAID HBAs and Subsystems===============================================================================Type # Model Alias WWN Seq===============================================================================hba 1 * Pegasus R4 2000-0001-5530-6d27 1Totally 1 HBA(s) and 0 Subsystem(s)-------------------------------------------------------------The row with '*' sign refers the current working HBA/Subsystem pathTo change the current HBA/Subsystem path, you may use the following command:spath -a chgpath -t hba|subsys -p <path #>.Type help or ? to display all the available commands-------------------------------------------------------------cliib> ptiflash -f /Users/promise/Desktop/Pegasus\ 1/R_SI_504000061.imgStart transferring image, please wait ...Flash image has been successfully transferred.Start flashing image, please wait ...... 100 percent completed...Flash Completed.cliib> shutdown -a shutdown
The firmware update will not start immediately, be patient. After the update is completed the Pegasus must be power-cycled to load the updated firmware. To do this shutdown the Pegasus with the shutdown command (as above). To restart the Pegasus1 or Pegasus2, remove the power cord and plug it back in.
After the reboot the firmware version should be verified. To check the controller firmware version you can use with the Promise Utility GUI or the CLI with the following command.
ctrl -v
