
If you own one of our machines (models 3340, 6120, or 6600), you might need to locate the Operating System (OS) label sticker with the license code for activation or troubleshooting. This guide will help you quickly find the sticker on each machine.
Model 3340
-
Location of the Sticker:
-
The OS label sticker is located on the left panel of the machine.

-
It is positioned near other labels, including the warning stickers and the serial number tag.
-
-
Description of the Sticker:
-
The OS label is rectangular and includes text such as "Windows® IoT" or "windows server."
-
The license code is a 25-character alphanumeric string.Look for a distinct color or design (e.g., green or blue background) that stands out among other labels.
-
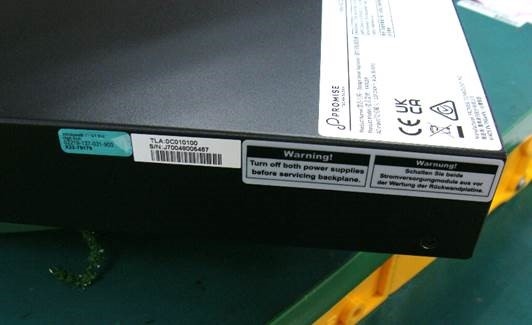
Model 3120
-
Location of the Sticker:
-
On this model, the OS label sticker is also on the Left panel, placed near the power supply warning label and the product serial number sticker.
-
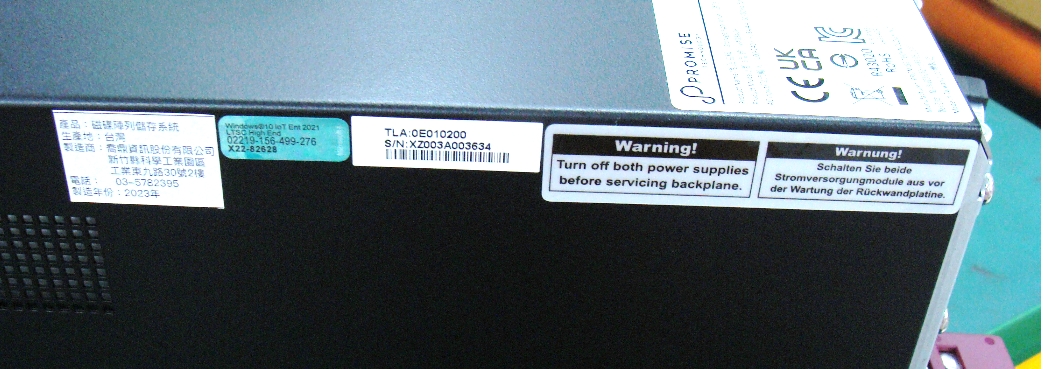
Model 6600
-
Location of the Sticker:
-
The OS label is located on the top surface near the back panel of the machine.
-
It is placed adjacent to the compliance and certification labels (CE, UKCA, FCC).

-
