
Introduction:
There are many reasons why an Ex10 user might need to reset the administrator password. Some common reasons are...
- Purchased the unit from a 3rd party
- Password was forgotten or lost
- IT admin who knew the password is no longer with the company
Unfortunatly, the password reset on the Ex10 is not as simple as with newer units where a button press will do the trick.
Requirements:
In order to reset the password there are several requirements.
- confuser file
- tftp server
- access to the Ex10 on the same subnet
- a serial connection to the Ex10
Warning:
If the Ex10 is dual controller, it is recommended to unseat controller 2 before doing a password reset on controller 1. That is, power down, unseat controller 2, then power on and do the password reset on controller 1. Then after controller 1 is booted with the reset password hot insert controller 2 and it will take it's configuration information (including the user database) from controller 1.
Process:
This KB will demonstrate the process with Windows 10, the process is the same for MAC or Linux, but different tools will be needed.
First, an appropiate serial cable will be needed. Promise ships 1 serial cable with each controller, so a dual controller Ex10 would ship with 2 cables. Often these are lost or unavailable, so a correct cable will have to be obtained.
This KB shows how to make the serial connection. The part about collecting logs is not relevant here.
A tftp server will also be required. For windows I find the free tftpd32 or tftpd64 work well. Be advised that tftp is a very old protocol and won't work across subnets. The computer used should be on the same subnet or direct connected to the Ex10 for the tftp connection to be established.
The confuser files can be obtained here.
Channel:
MAC:
The tftp server root folder must be changed to the folder that contains the confuser file.
After connecting the serial port, power up the Ex10.
There are 2 possibilities. The first possibility is the the CMOS battery is dead and booting will take you directy to PBL_RAM, which is were the password reset will be done from.
The second possibility is that the CMOS battery is still working and it will be necessary to interrupt the boot with a ^C. This can be done during the 'Executing boot script in 30.000 seconds' countdown.
Built 10:56:48, Mar 18 2009Platform Setup completed+execsLoad & Run: PBL_RAM+Request IP addr from DHCP server: .............................................Ethernet eth0: MAC address 00:01:55:30:87:50Can't get BOOTP info for device!DHCP EnabledEthernet MAC address: 00:01:55:30:87:50IP: 0.0.0.0/255.255.255.0, Gateway: 0.0.0.0Default server: 0.0.0.0, DNS server IP: 0.0.0.0PBL_RAM Ver 1.02.0000.03Built 14:49:31, Aug 25 2009== Executing boot script in 30.000 seconds - enter ^C to abort^C> 26.190 sec==> 26.180 secPBL_RAM>
Here DHCP is enabled but failed. So we will have to set a static IP. If DHCP is enabled and finds an IP address a static IP won't have to be set.
To set a static IP the 'net' command will have to be used. The syntax of the command is...
Ethernet Management Configuration Utility net -d | -c | -i <Static IP> [-n <DNS Sever IP>] [-s <Subnet Mask>] [-g <Gateway>]
The command on the local network looks like this...
PBL_RAM> net -i 192.168.9.241 -s 255.0.0.0 -g 192.168.9.1Set Virtual port optionsDHCP DisabledSetting IP Address to 192.168.9.241Setting Subnet Mask to 255.0.0.0Setting Gateway Address to 192.168.9.1PBL_RAM>
Please note the netmask used is 255.0.0.0. For some reason if the actual netmask (255.255.255.0) is used, the port won't work. The netmask 255.0.0.0 should work with just about any network.
We can check the port by pinging a server, we will ping the gateway as a test.
PBL_RAM> ping -i 192.168.9.241 -h 192.168.9.1Network PING - from 192.168.9.241 to 192.168.9.1PING - received 10 of 10 expectedPBL_RAM>
We can now configure the tftp server by setting the root folder to the location of the confuser file...

Now we are ready to update the user information using the confuser file. From the PBL_RAM prompt. Be sure to write down the filename for the last step. Copying and pasting it in may not work. Also, tftpd64 shows you the computer's IP address (in the 'Server Interfaces' line), you can use this or find the IP from a cmd window with the 'ipconfig' command.
PBL_RAM> ptiflash -t -h 192.168.9.181 -f ex10_confuser_3_36_0000_00.img-... Erase from 0xf0160000-0xf0300000: ................ Program from 0x02000908-0x021a0908 at 0xf0160000: ................ Erase from 0xf1fe0000-0xf2000000: .... Program from 0x04000000-0x04020000 at 0xf1fe0000: .... Erase from 0xf1f80000-0xf1fa0000: .... Program from 0x04020000-0x04040000 at 0xf1f80000: .PBL_RAM>
The Ex10 user information and passwords have now been reset to defaults. To continue the boot...
Note: To boot from PBL_RAM the comand is 'execs'. If the controller battery is dead it will only boot to PBL_RAM and to boot the firmware the 'execs' command must be used. For a dual controller Ex10 let one controller boot to the login prompt before moving the serial cable to controller 2 and booting it with 'execs'.
PBL_RAM> execsSoftware modules check OK SDRAM Size: 0x20000000, OS Size: 0x0c000000 Flash size: 0x02000000, Flash blk size: 0x00020000, blk count: 0x00000100Using base address 0x01008000 and length 0x001c3460Loading software modules .......
-------------------------------------------------------------Promise VTrak Command Line Interface (CLI) UtilityVersion: 3.33.0000.00 Build Date: Sep 24, 2009-------------------------------------------------------------
Login: administratorPassword: ********-------------------------------------------------------------Type help or ? to display all the available commandsType menu to enter Menu Driven Configuration Utility-------------------------------------------------------------administrator@cli>
The default username/password, which is administrator/password should now work.
Note: the confuser file does not affect any data on disk.
After the Password Reset:
It is recommended that if the firmware is downrev, the first thing that should be done after the password reset and before putting the storage into production should be to update the firmware to the latest version available. It is recommended to update sequentially since it is not possible to update to the latest Ex10 service release from many of the older firmware releases.
Note: a firmware update also does not affect any data on disk.
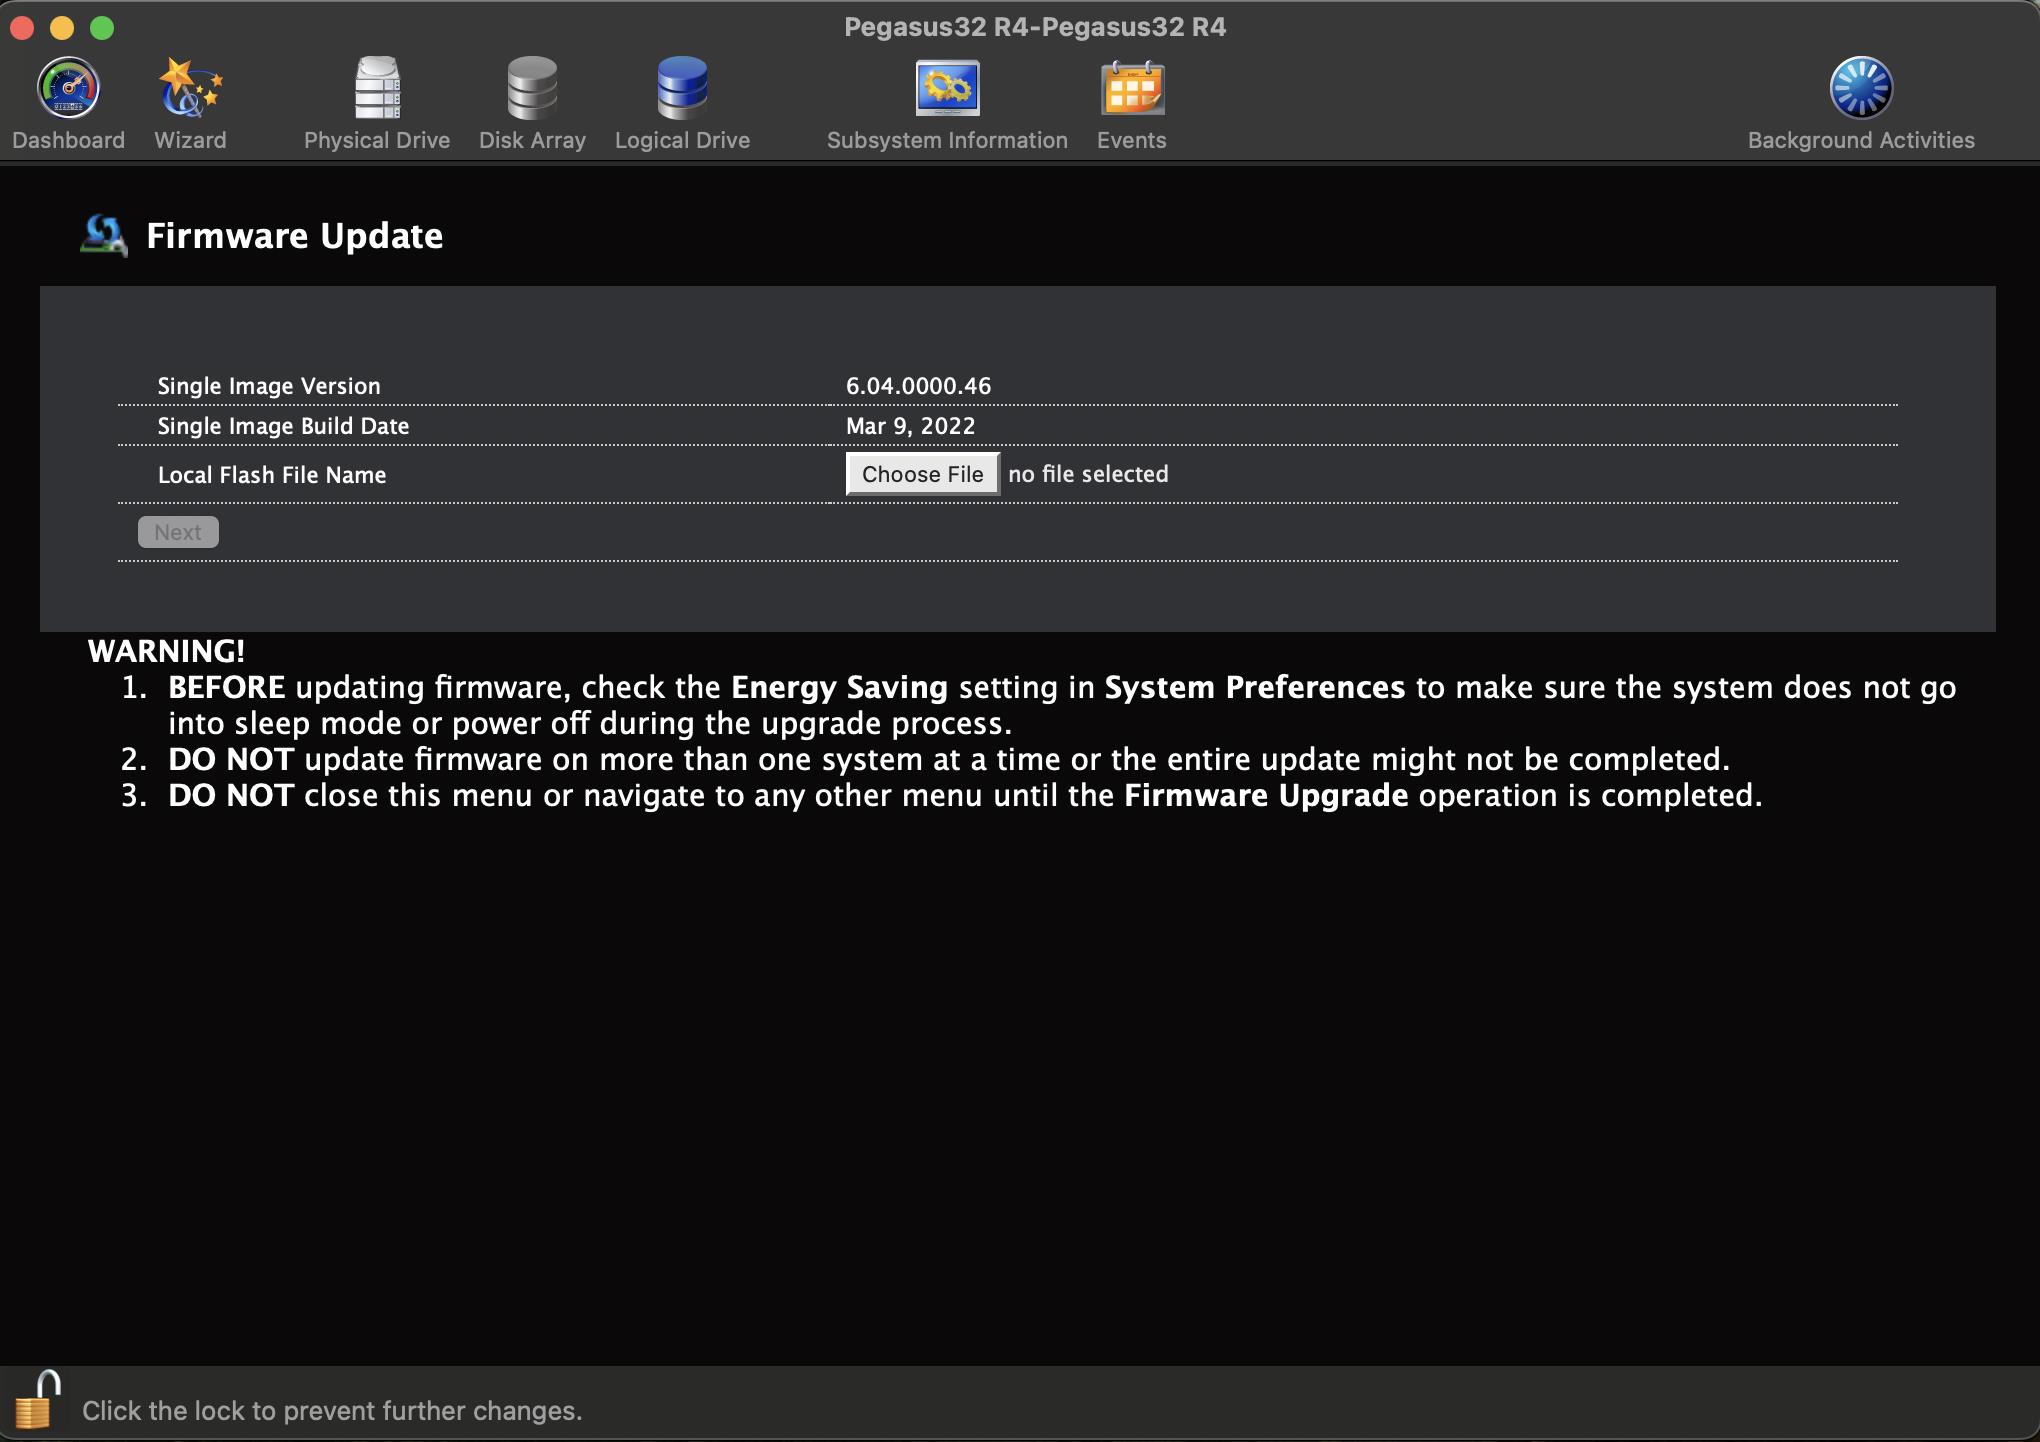
 2. Click on the padlock icon to unlock the menu, and type in the password for your computer when the prompt appears.

