Here’s a structured guide on setting up a serial connection to Vess R3600 and collecting all logs using the Command Line Interface (CLI).
1. Hardware Requirements
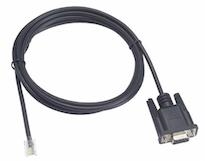
- RJ11-to-DB9F cable (provided in the accessories box).
- Computer (PC, Mac, Linux) with:
- Embedded Serial Port or
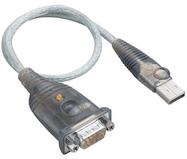
- USB-to-Serial Adapter for computers without serial ports.
- Terminal Emulation Application such as:
- PuTTY (Windows)
- Tera Term (Windows)
- Minicom (Linux)
- Screen (Mac/Linux).

Promise RJ11-to-DB9F Cable
2. Connecting the Serial Cable
- Plug the RJ11 end of the cable into the Vess RAID controller (left-hand serial connector).

2. Plug the DB9F end into your computer’s serial port or USB-to-Serial adapter.

USB-Serial Adapter
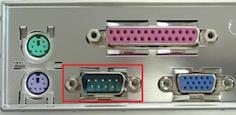
Computer Serial Port
3. Configuring the Terminal Emulator
- Launch your terminal application.
- Locate and select the appropriate COM port assigned to your serial connection. (For USB adapters, check your device manager to identify the assigned COM port).
- Set the following serial communication settings:
- Baud Rate: 115200
- Data Bits: 8 bits
- Parity: None
- Stop Bits: 1
- Flow Control: None
- Open the connection.
- Press Enter or Return—you should see a login prompt.
4. Logging in to CLI
- Enter your username and password.(Note: The default user name is administrator.The default password is password)
- You will be greeted with the CLI prompt:
administrator@cli
5. Collecting Log Data
Enable session logging (if supported by the terminal application) or manually copy outputs into a text file.
Run the following commands one by one and save the outputs:
-
System Information
subsys -v ctrl -v enclosure -v battery -v net -v -
Background Activities
bga -
Fibre Channel Information
fc -v fc -a list -t device fc -a list -t initiator -
Physical Drives
phydrv phydrv -v -
Array Information
array array -v -
Logical Drive Details
logdrv logdrv -v -
LUN Mapping
lunmap -
Event Logs
event
event -l nvram
(Note: Last command has a lowercase 'L', not number '1').
6. Saving Logs
- Enable Log Capture in the terminal emulator to save logs directly to a file.
- Or, copy-paste the session output into a text document.
7. Provide Logs to Support
Send the saved log file to the Promise Technical Support Team as part of your support request.
Start Support Request Online:
- Visit Promise Technology Support to create a support case.
Additional Notes
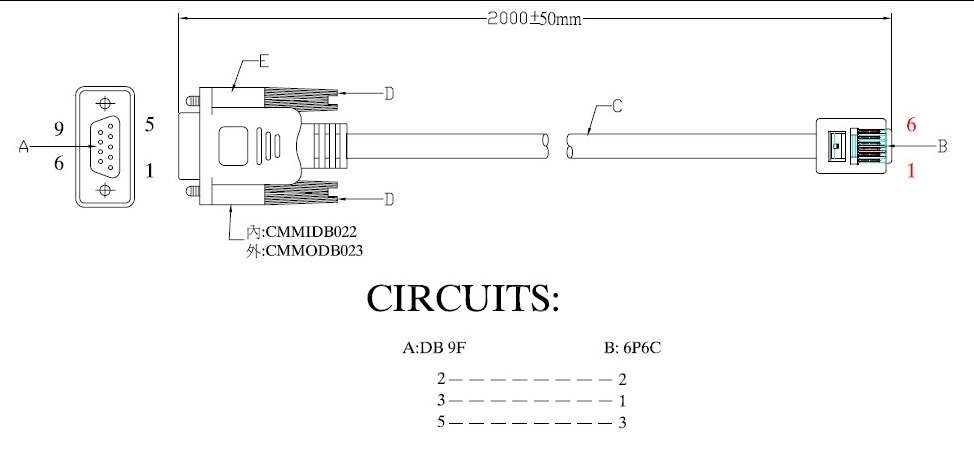
- Custom Cable Requirements:
If building your own cable, refer to the serial pinout diagram below or attached in this article

- Network Unavailability:
Serial access is a reliable fallback if network access is down. - Permissions:
Ensure you have administrator-level access to the RAID system for complete log collection.
This process ensures you can securely gather logs for troubleshooting even without network access.


