Installing WebPAM 5.0 on your Mac first
Pegasus5 R12 ships ready to use without configuration or set-up; however, it is a good idea to install the WebPAM 5.0 software even if you do not plan to make any changes to the device's configuration.
The software is useful for monitoring the system and getting firmware updates. The software is necessary if you plan to change the default RAID configuration (Pegasus5 R12 is shipped with a RAID 5) or if you will swap out any of the hard drives shipped with the device.
Follow the instructions below to install the software: https://www.promise.com/Support/DownloadCenter > Pegasus > Pegasus5 R12 > Utilities
- Download the Driver and Software installation files from promise.com.

- Find the file Web_Server_Pro.dmg and double-click on it to mount the virtual drive containing the installation software package.
Note: the version number of the .dmg and .pkg files will change as they are updated. The version number used in this example is just for illustration. - Double-click on the PROMISE_Software.pkg file to begin the software installation.
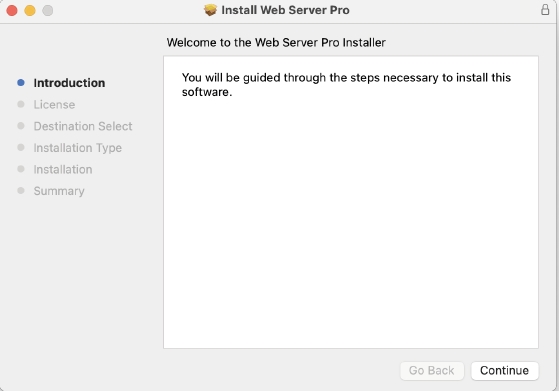
- The Welcome menu explains that software will be installed on the computer. Click Continue to proceed with the installation. The Pegasus5 R12 uses the HTML-based WebPAM 5.0 as the management interface for the system.
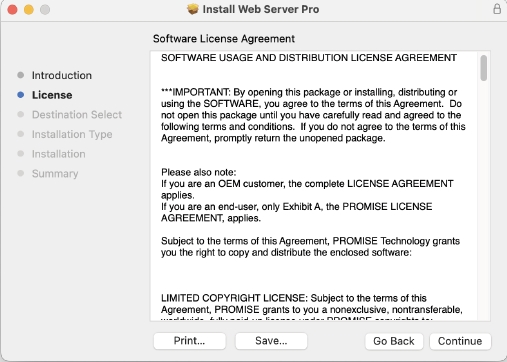
- Administrator permission may be required to install the software. Type the administrator password of your computer for permission to install the software. The End User License Agreement menu allows you to read or print the user agreement. Read the agreement and click Continue if you wish to continue with the installation.
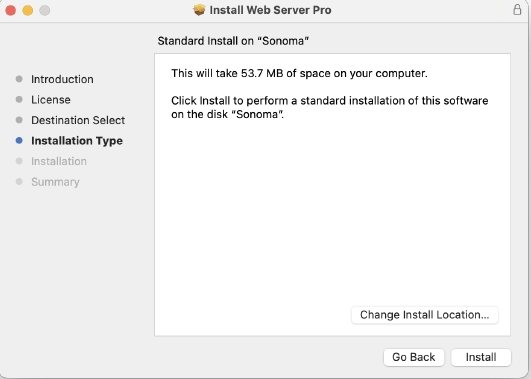
- You can change the installation location by clicking Change Install Location. Otherwise, click Install to continue the installation in the default location.
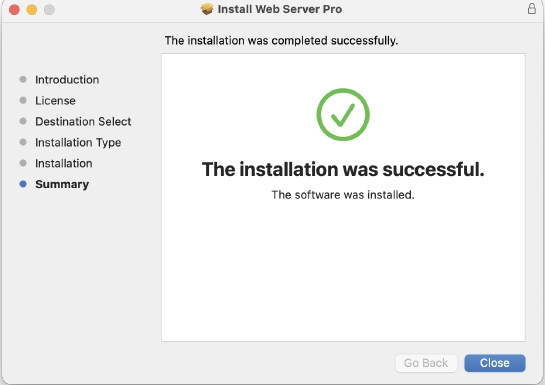
- It takes a few seconds for the software to be installed. When the installation has been completed, a message informs you that the installation was successful. WebPAM 5.0 is now available for managing the Pegasus5 series.
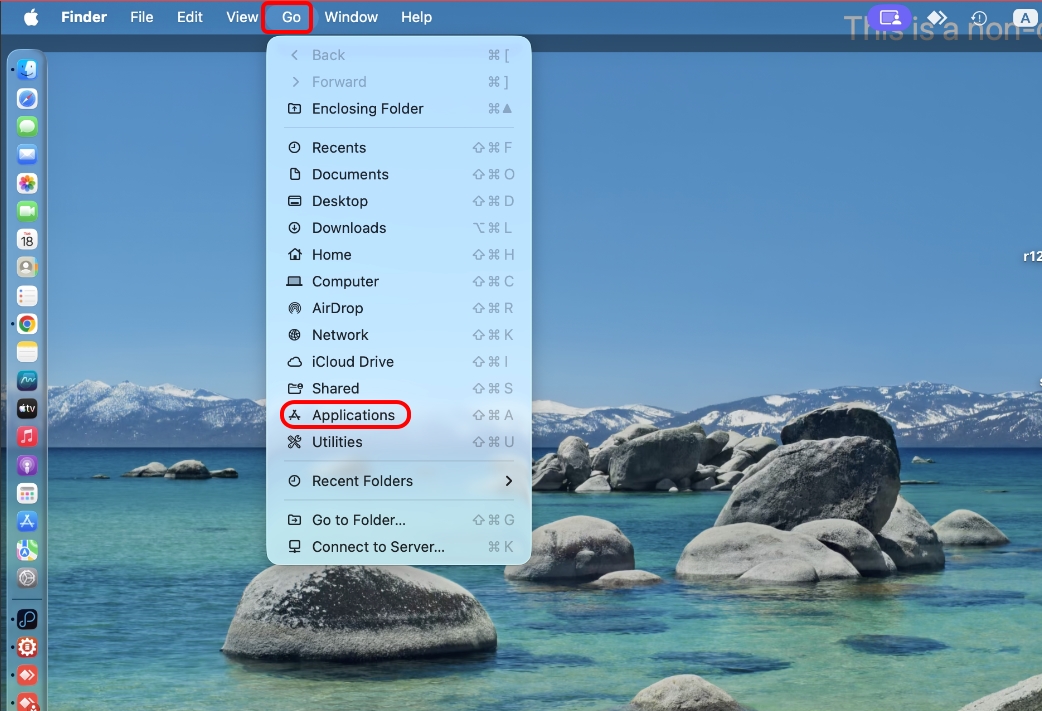
- Go to Applications.
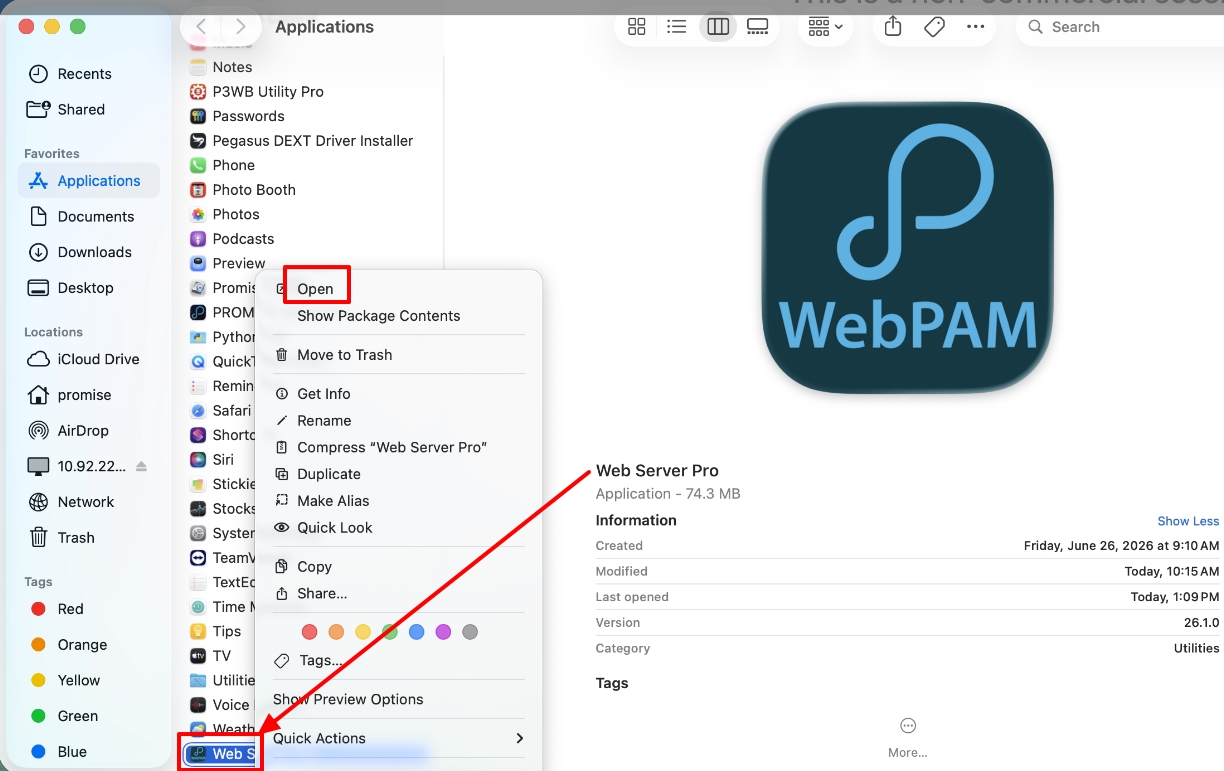
- Find Web Server Pro and open it.
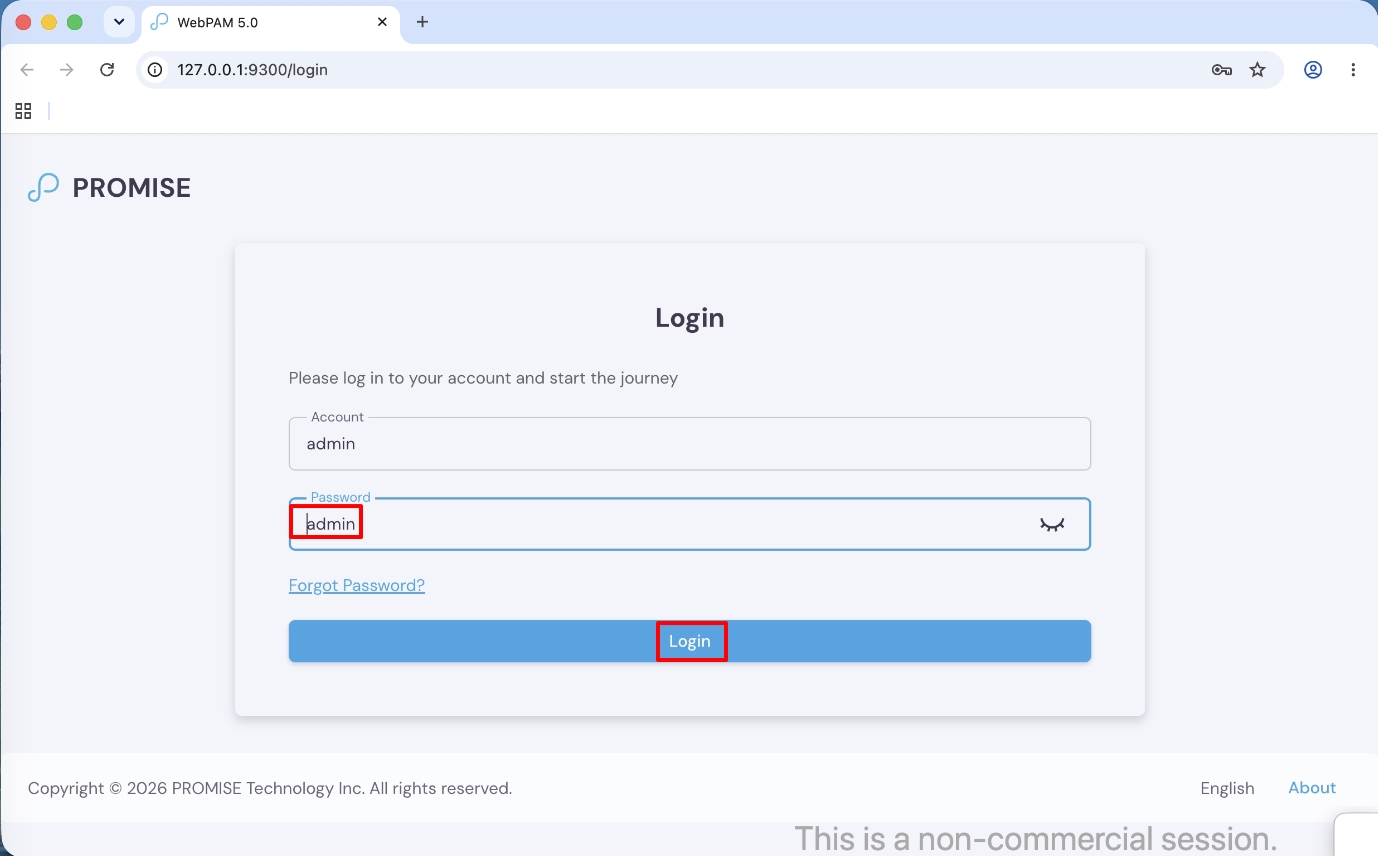
- Log in with the admin account and admin password.
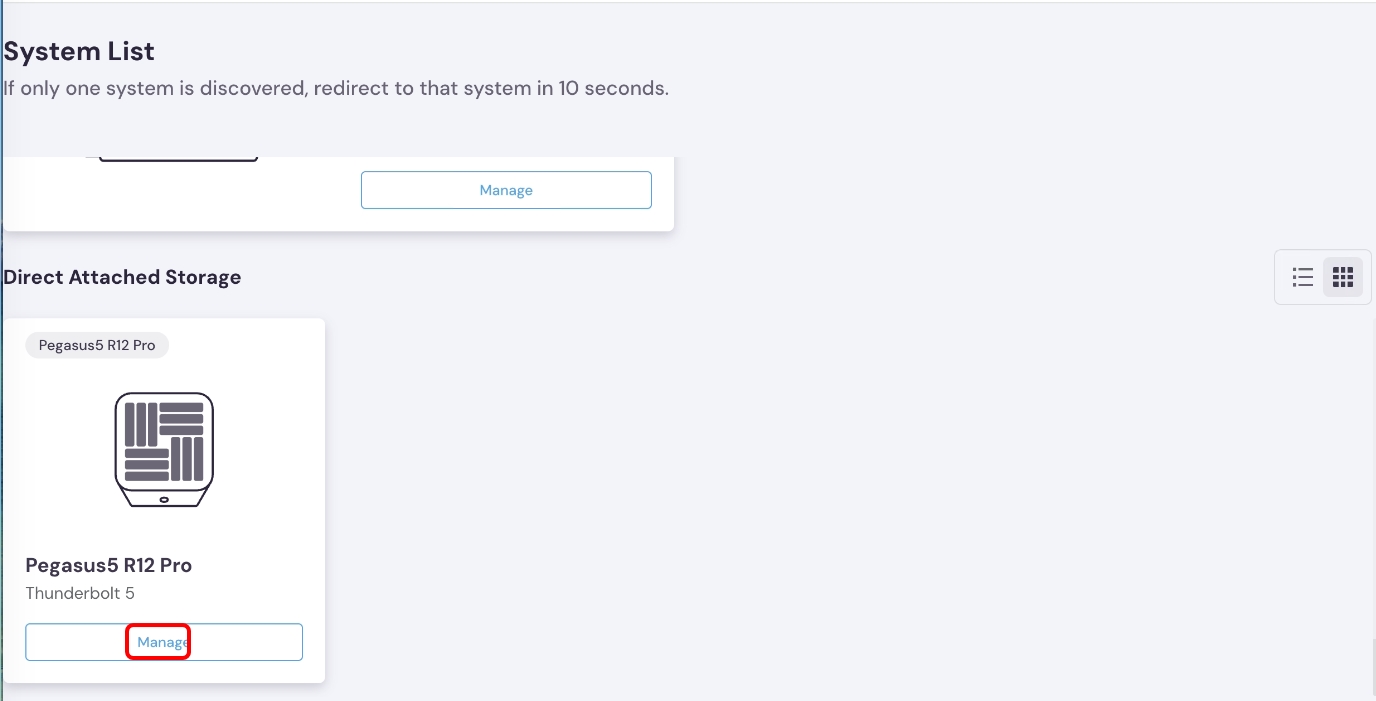
- Switch to Manage and click it.
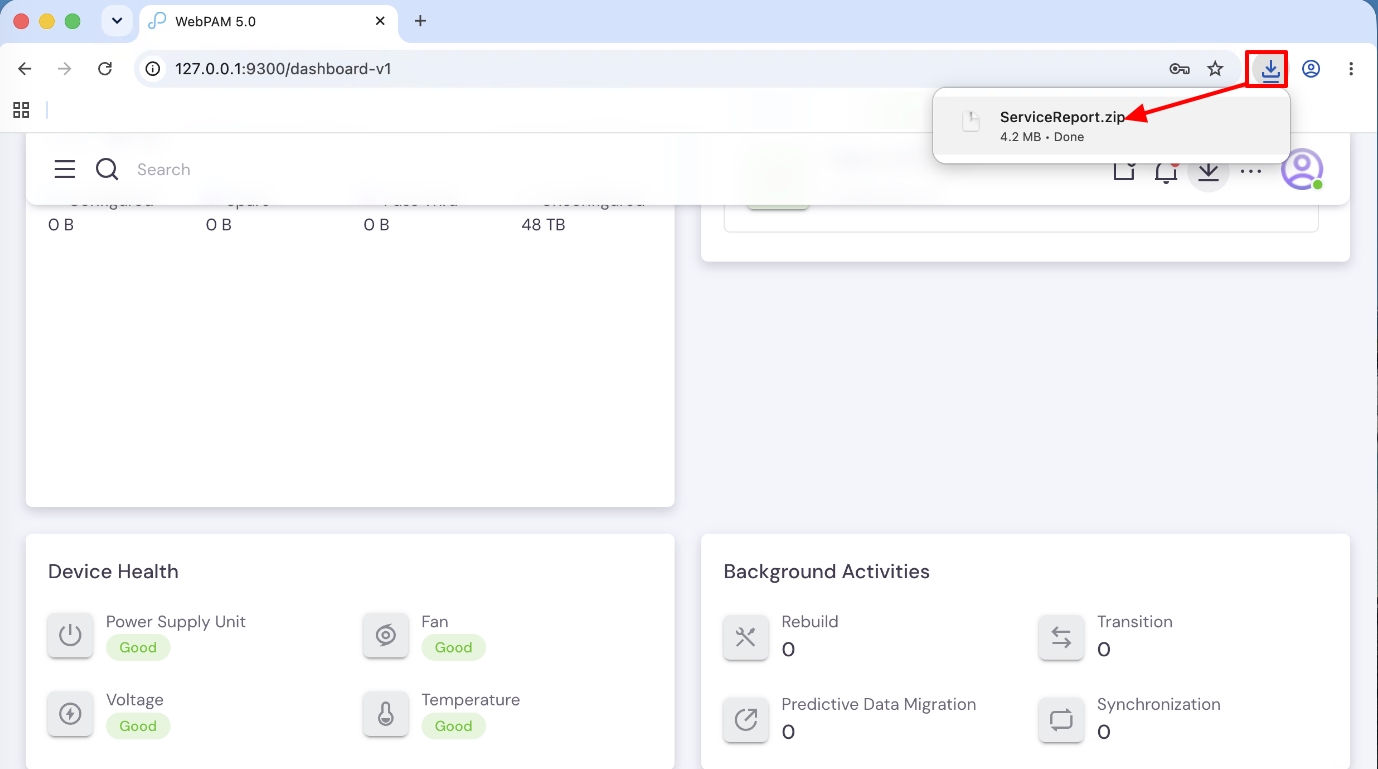
- Click the download icon to generate the service report.
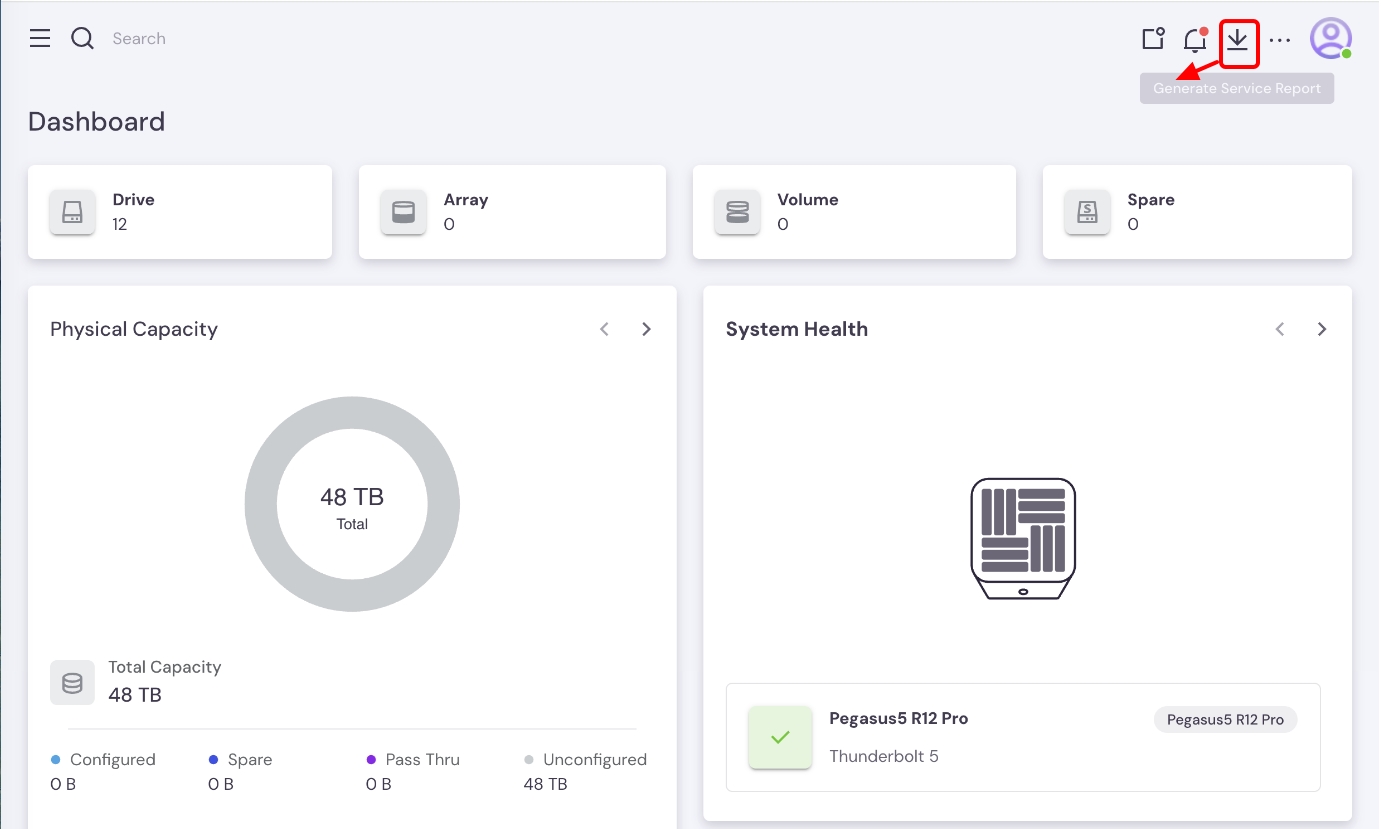
- The service report.zip file is saved.