Searching: firmware - 177 Results Found

VESS Other How do I configure NTP on my VessRAID?
Ken Chou posted this 02 April 2010

Beginning with VessRAID firmware Service Release 3 (SR3), support for NTP – Network Time Protocol – has been added to the subsystem menu. NTP allows the VessRAID’s time and date to be synchronized to another system, either on an internal network or from an external source.

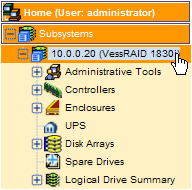
To enable the NTP Service, select the root menu of the subsystem.


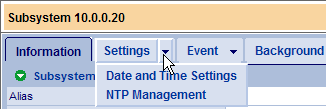
Click on the drop-down arrow of the Settings tab.


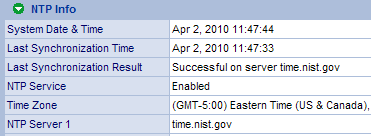
If the NTP Service is not running it will appear as Disabled in the NTP Info pane.

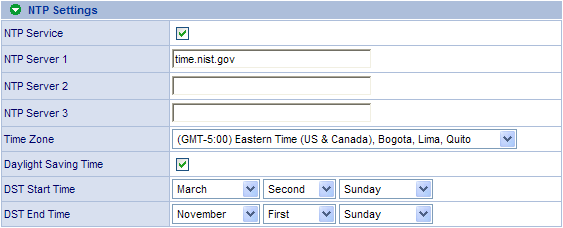
To enable the NTP Service, check the NTP Service check-box in the NTP Settings pane and enter the address of an NTP server that is either on your network or available externally. Ensure that the VessRAID management port IP information is configured correctly to reach the NTP server you enter. For this example we are using the NTP server at the National Institute of Standards and Technology.


Click the Submit button and you should see a success message for the parameter change.


Go back to the NTP Settings tab and look at the NTP Info pane. The Last Synchronization Result field should show a successful sync with the configured NTP server and your System Date and Time should be current.


You can manually test the NTP settings by using the Start Time Sync button. This should result in an NTP synchronization message and the subsystem time being updated.


You will be prompted that this action might cause a session timeout; click the OK button to continue.
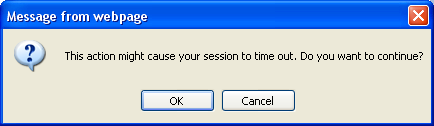


Note
A session timeout is likely if the configured NTP server is unreachable or if you have more than one NTP server configured and they are all unreachable. This is most likely due to the IP configuration of the VessRAID’s management port, or the NTP port being blocked by your network firewall.


SmartStor NS4600 Using Safe Mode to Update or Downgrade firmware
Ken Chou posted this 27 February 2010

This procedure can be used to restore the NS4600 after bad flash or downgrade firmware on the NS4600 to earlier build. Downgrades should “ONLY” be done if necessary (such as restoring a feature that is currently inoperable).

  1. Download the NS4600 Firmware you intend to flash from the Promise support site.
  2. Make a note of the current IP address of your NAS by writing it down.
  3. Power off the NS4600. Hold the power button and reset button (pin hole located to the left of chassis screw – bottom left - will need paperclip or push pin) for 5 seconds to power-on in Safe Mode. The status and Ethernet LED will both flash blue after 10 seconds. The NS4600 will boot completely into Safe Mode after 30 to 45 seconds.
  4. Open a browser and enter: \ipaddress (example: \192.168.50.149)
  5. The Public Folder Share (RAM disk) will appear in the browser. Open the Public Folder Share and copy the firmware file to it.
  6. Open another browser and enter: //ipaddress (example: //192.168.50.149)
  7. The Safe Mode webpage will appear. Enter the firmware filename and select “OK” to begin the firmware update process. The NS4600 will reboot after the update completes successfully.

    NOTE: Do not interrupt the Firmware update process. Doing so can result in permanent damage to the unit which will require an RMA replacement.

  8. If the Safe Mode update or downgrade process fails to restore NS4600 to functional state, please contact technical support for “RMA” replacement.


Close