Searching: tftp - 16 Results Found

VESS R3000 Series Updating Firmware on the Vess R3600 Subsystem
Babatunde Akinkuolie posted this 29 October 2024

To update the firmware on the Vess R3600, follow these steps:

1. Download the latest firmware image file from PROMISE support by visiting the website at http://www.promise.com/support/. Save the file to your Host PC or TFTP server.

2. Before proceeding, ensure that no background activities are running on the RAID subsystem.

3. Access the Administration tab and navigate to the Firmware Update section.

4. Choose a download option:
Local File through HTTP: Click the "Choose File" button, locate the firmware image file on your system, select it, and click "Open."
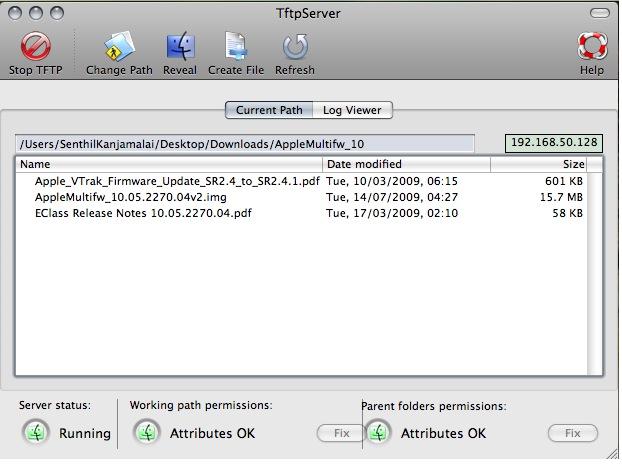
TFTP Server: Enter the TFTP Server host name or IP address, port number, and file name.

5. Optionally, you can check the "Non-disruptive Image Update (NDIU)" box. This feature updates the RAID controllers and I/O modules one at a time, allowing I/O operations to continue during the firmware update. Note that updates with this option take longer to complete and are only supported by dual controller models.

6. Click the "Download" button. The subsequent screen will display the Flash Image (firmware image file) Version Number and Build Date.

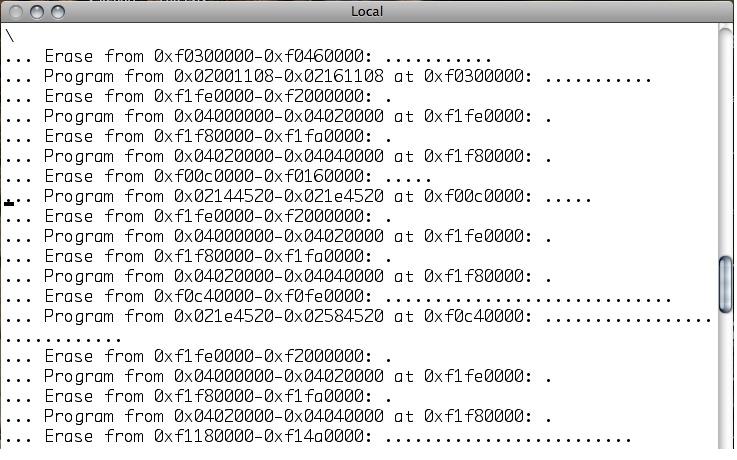
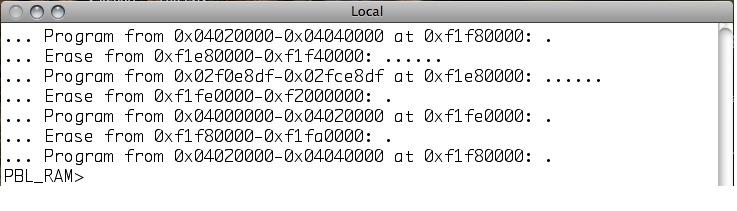
7. Click "Submit" to initiate the firmware update. The progress of the update will be shown.

Important: Do not power off the subsystem during the update and refrain from navigating to other screens until the firmware update operation is completed.

Once the update is finished, a message will prompt you to reboot the subsystem. Click "OK."

- If you selected the Disruptive Flash Method, the RAID subsystem and JBOD expansion units will automatically restart.
- If you chose the Non-Disruptive Flash Method, the system will automatically flash and restart the RAID controllers one at a time.

Automatic Restart: If the NDIU box was not checked, the RAID subsystem and JBOD expansion units will automatically restart. This action temporarily disrupts I/O operations and may cause your WebPAM PROe connection to drop. To reestablish the connection, follow these steps:

1. Wait for a minimum of two minutes.
2. Click "Logout" in the WebPAM PROe Header and then log in again. If you encounter login issues, wait for 30 seconds and try again.
3. In your browser, click "Logout" in the WebPAM PROe Header and then log in again. If you cannot log in immediately, wait for 30 seconds and try again.

Legacy Other I updated my E Class firmware to Service Release 2.4/2.4.1 from 3.29.0000.00 and now my E Class is in maintenance mode. What do I do next?
Ken Chou posted this 01 October 2009

Applications/cables/firmware required:

  1. Zterm (http://homepage.mac.com/dalverson/zterm/)

  2. TftpServer (http://www.versiontracker.com/dyn/moreinfo/macosx/18561)

  3. Vtrak E-Class Service Release 2.4.1 firmware (10.05.2270.04

  4. Serial cable that came with the E Class

  5. USB to Serial Adapter (not required if you are going to use an Xserve to connect to the E Class)

Procedure:

  1. Download 10.05.2270.04v2 from www.promise.com (http://www.promise.com/support/download/download2eng.asp?productId=199&category=all&os=100&go=GO)

  2. Install and setup the TftpServer on your Xserve, MacPro or Macbook/Pro. Change the current path, using “Change Path” to point to the folder where you extracted the image to.

    3. Power off the E Class. If you have a J Class attached to the E Class, power off the E Class, then all the J Class attached to the E Class.

    4. Remove all the cables from both controllers except for the Ethernet cable on Controller 1

    5. Remove Controller 2

    6. Install Zterm.

    7. Connect to Controller 1 using the serial cable that came with the E Class. In Zterm, configure the connection Data Rate = 115200, Data Bits = 8, Parity = None, Stop Bits = 1, No Flow Control.


    8. Power up the E Class. Hit control-c when prompted by boot process.

    9. Set-up networking on the E Class.


    10. Flash the E Class with 10.05.2270.04v2 firmware.                                                                                                        


    11. While the firmware is being flashed onto the E Class, you should be able to see the flash progress…


    12. When flashing is complete, redboot will return you to the PBL_RAM> prompt.


    13. Power down the E Class, remove Controller 1 and insert Controller 2.

    14. Connect the serial and Ethernet cables to Controller 2.

    15. Repeat steps 7 to 11 for Controller 2.

    16. Power off the E Class.

    17. Insert both controllers

    18. Restore all cabling removed in Step 4 including SAS cabling to the J Class subsystem/s.

    19. Boot up the J and E Class subsystem.

    20. Update to SR 2.5 (10.06.2270.00). Follow the firmware upgrade instructions provided in the firmware package.

Close